
Last updated November 14, 2026
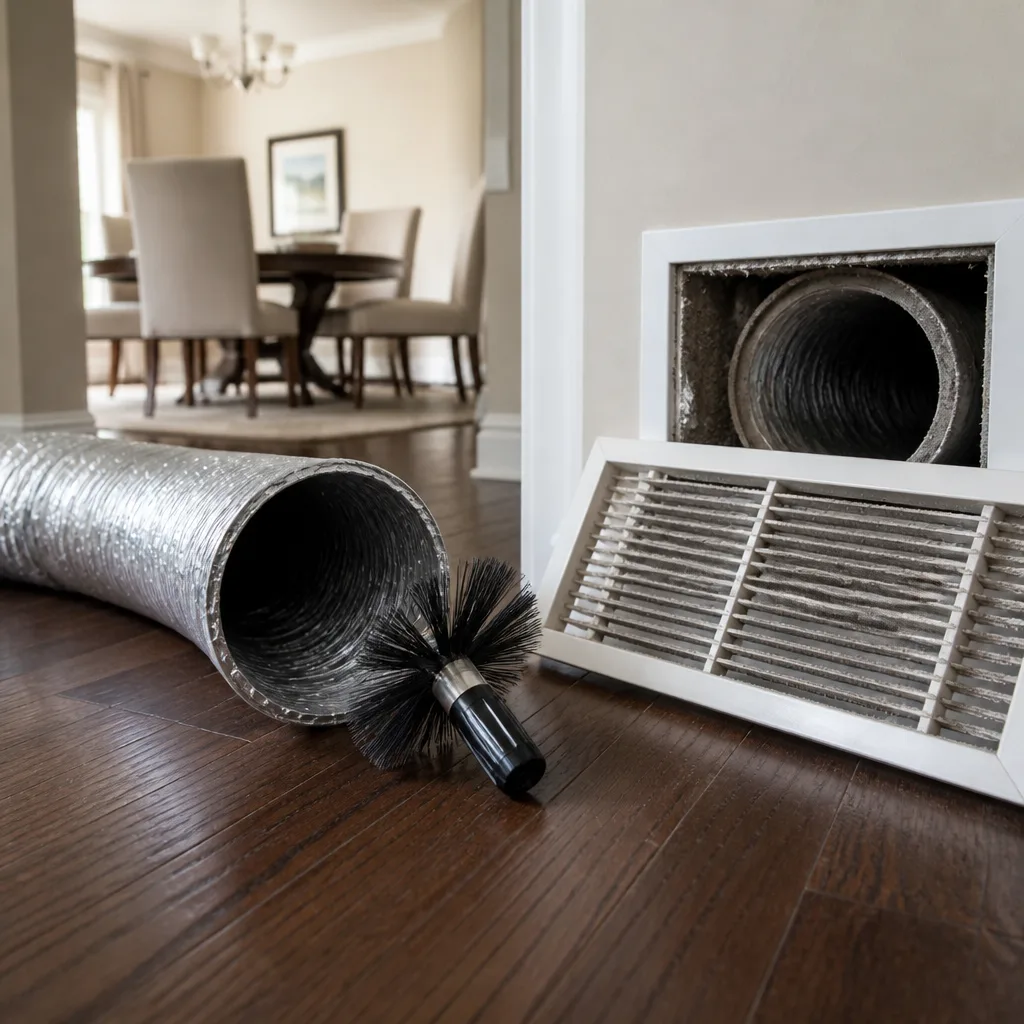 Whole-home duct cleaning
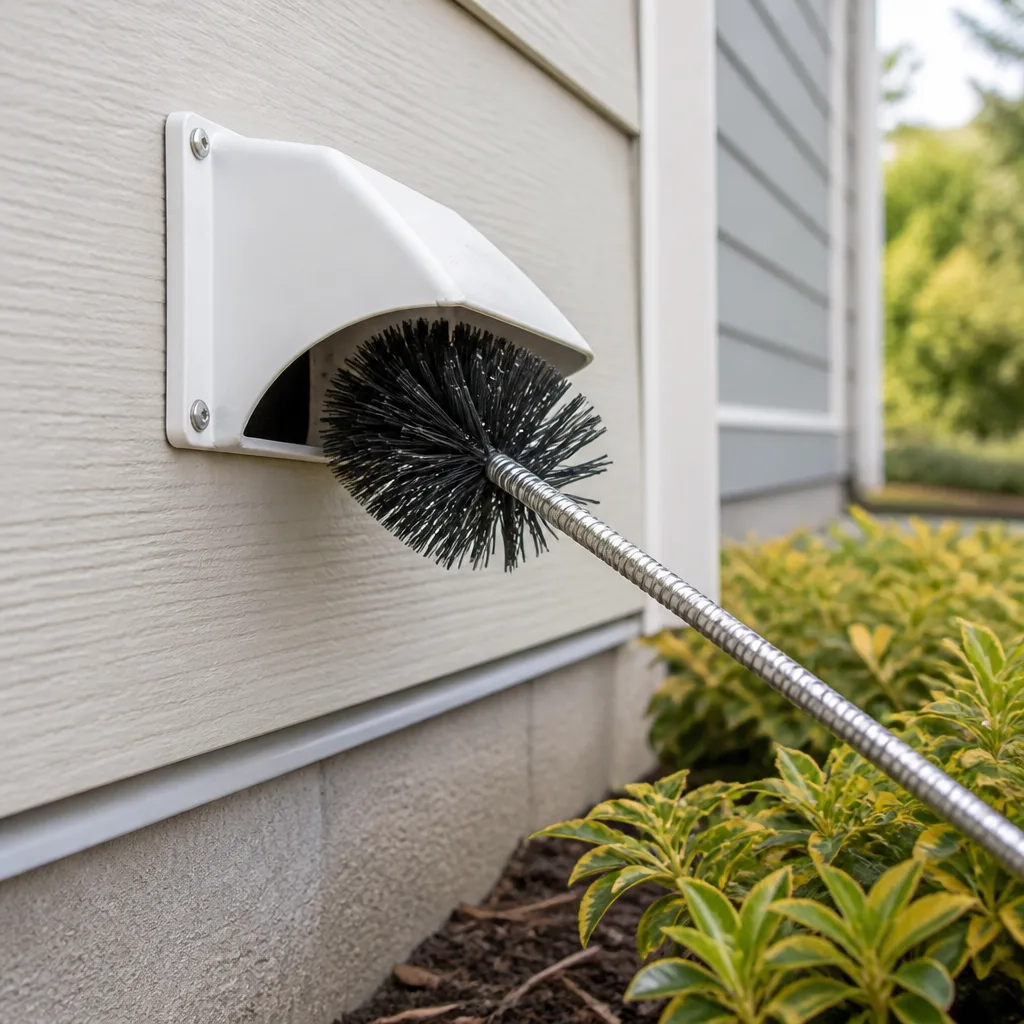 Dryer vent cleaning
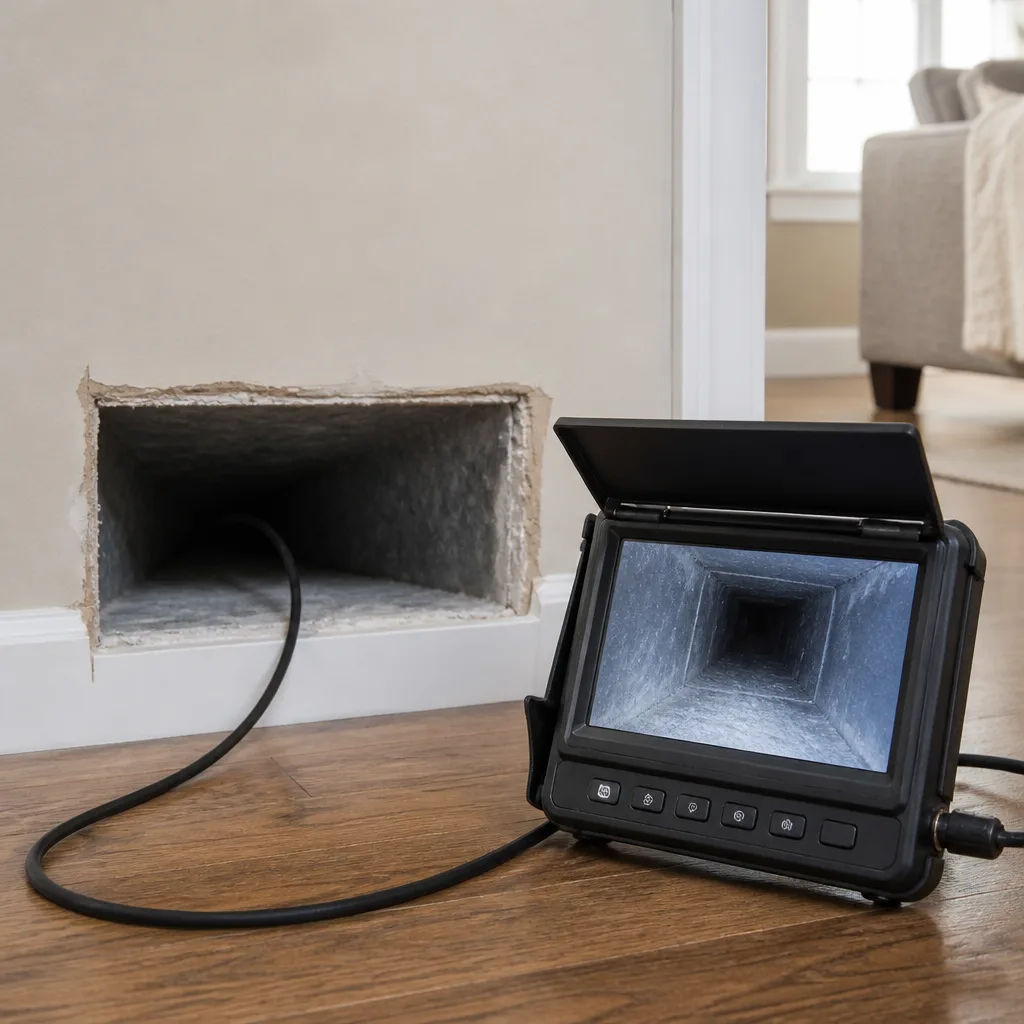 Camera inspection
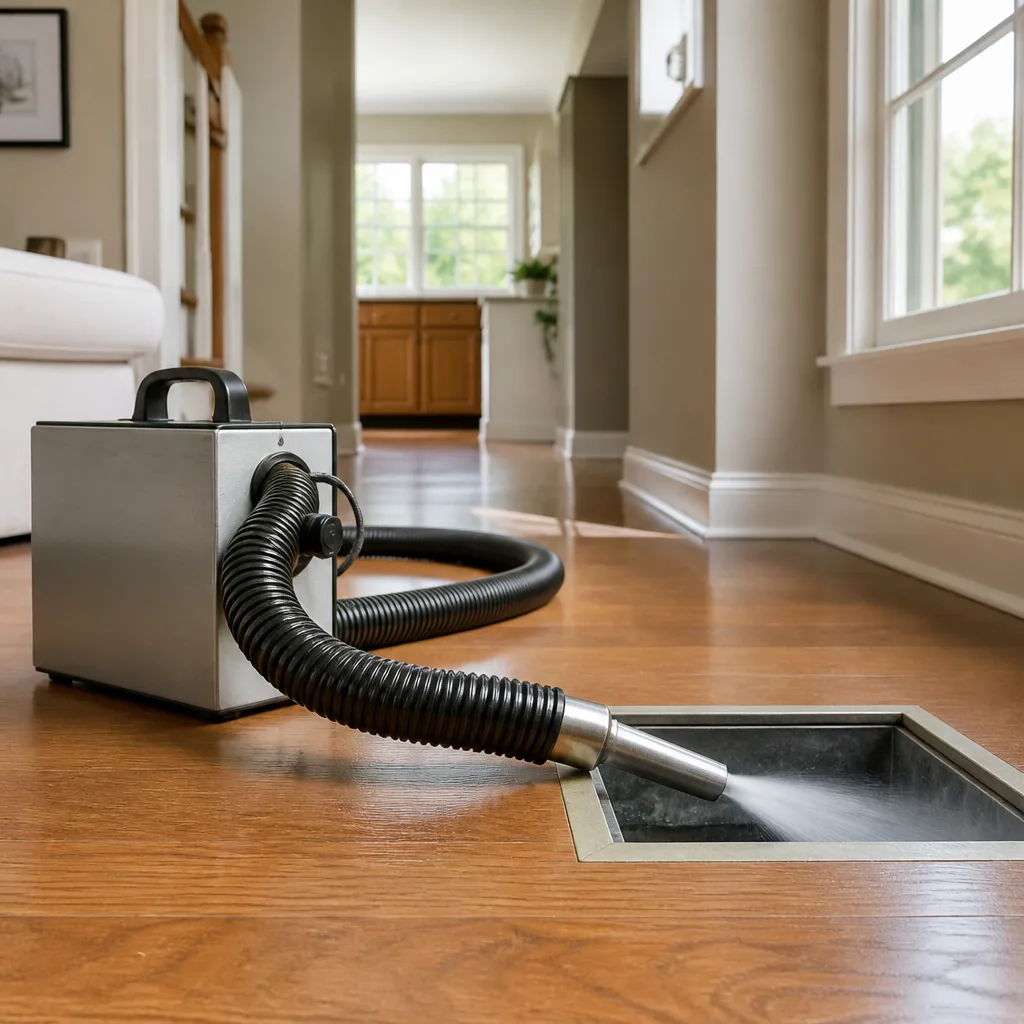 Sanitizing & deodorizing
Whole-system duct and dryer vent check with before-and-after photos - you see exactly what came out of your vents
That "$99 whole-house special" is a bait ad - the real number appears once they are in your hallway, or the "clean" is a shop-vac at the register. We photograph the inside of your ducts before and after instead.
DIY vs Professional Air Duct Cleaning: The San Mateo Homeowner’s Decision Guide
Most homeowners assume the difference between a DIY duct cleaning and a professional one comes down to effort. Rent the right attachment, spend a Sunday on it, save a few hundred dollars. That reasoning falls apart the moment you look at the physics. Suction volume and pressure determine whether dislodged dust gets captured or blown into the room you’re standing in. A consumer shop vac and a contractor-grade negative-air machine sit at opposite ends of that spectrum, and the gap isn’t a matter of degree. It’s a different category of work. This guide explains what’s actually happening inside your ductwork, what you can genuinely accomplish yourself in San Mateo, and where the line sits between a useful weekend project and a job that needs real equipment.
Quick Answer
Professional air duct cleaning is the right call in most San Mateo homes because consumer equipment cannot generate the negative pressure or airflow needed for true source removal. A shop vac’s duct attachment moves a small volume of air and tends to redistribute dust rather than extract it. Professional setups use powerful negative-air units paired with rotary agitation, so debris is captured at the source. DIY is genuinely useful for register cleaning, grille vacuuming, lint removal, and filter upgrades. For whole-system cleaning or any sign of mold, rodents, or renovation debris, hire a specialist.
Styles & brands we work with
- Whole-home duct cleaning
- Dryer vent cleaning
- Camera inspection
- Sanitizing & deodorizing
Table of Contents
- The Physics Problem: Why Suction Isn’t Suction
- What Negative-Pressure Source Removal Actually Means
- What You Can Genuinely Accomplish Yourself
- Where DIY Attempts Cost You More Later
- When Professional Cleaning Is Non-Negotiable
- Getting the Most Out of a Professional Cleaning: The 48-Hour Prep List
- How to Evaluate a Duct Cleaning Company in San Mateo
- What Professional Cleaning Costs and Why
The Physics Problem: Why Suction Isn’t Suction
Airflow is measured in cubic feet per minute, and the gap between consumer and contractor equipment is enormous. A rented duct cleaning attachment on a shop vac typically pulls in the range of 100 to 150 CFM. A Nikro portable negative-pressure unit used by professional contractors pushes 2,000 to 4,000 CFM. That’s not a slight difference in power. It’s an order-of-magnitude difference in how much air is moving through the system and how much debris gets carried out versus stirred up.
Why does volume matter so much? Loose dust and debris behave like fine particulate, not like a pile of leaves. To capture it, you need enough air velocity to keep particles suspended and moving toward a collection point. Low suction at a single register simply isn’t enough to lift settled material from a long trunk run, and any that does come loose often settles back down a few feet away, just in a different spot.
There’s a second problem: pressure balance. When you attach a vacuum to one register in a system with other open registers, air gets pulled in from those openings too. You’re not creating a sealed negative-pressure environment. You’re creating a weak, leaky suction point that competes with the rest of the house.
- Consumer shop vac with duct attachment: roughly 100 to 150 CFM, open-system, minimal pressure differential.
- Nikro portable HEPA negative-air unit: roughly 2,000 to 4,000 CFM, sealed at the trunk, HEPA-filtered exhaust.
- Pressure source: one is pulling from a small area; the other is drawing the entire system into a controlled capture zone.
The practical upshot is that a homeowner with a shop vac can loosen dust. A professional setup can remove it. Those are different outcomes, and only one of them improves the air you breathe in a San Mateo home.
What Negative-Pressure Source Removal Actually Means
Source removal is the phrase that separates real duct cleaning from the cosmetic version. The principle is simple once you picture it: you create strong negative pressure at one end of the system, then mechanically agitate the ductwork from the inside, and everything you loosen gets swept toward the capture point before it has a chance to escape into the living space.
Here’s how a professional cleaning typically works, and why each step matters:
- Seal and connect the main trunk. A high-volume negative-air unit is connected at a strategic point, usually the main trunk or a large return. All other registers are temporarily sealed so the system becomes a closed loop instead of a leaky one.
- Establish negative pressure. The HEPA-filtered vacuum runs continuously, pulling air through the entire duct network in one direction while filtering what it captures.
- Agitate from inside. A rotary brush system like a Rotobrush is fed through each branch and run along the duct interior. The brush physically scrubs the walls while the airflow carries loosened material to the collection point.
- Work branch by branch. Every supply and return line is cleaned individually, not just the ones easiest to reach.
- Verify with a camera. A borescope inspection confirms the duct interior before and after, and photographs document what was removed.
Notice that the agitation and the vacuum must happen simultaneously. If you vacuum one register today and brush another one tomorrow, you’ve already lost. The negative pressure needs to be holding the loosened debris while it’s still airborne. This is the setup consumer equipment cannot replicate in any configuration, and it’s why “I’ll just rent a bigger vac” doesn’t close the gap.
It also explains the HEPA containment piece. Abatement Technologies equipment is designed for environments where captured particulate needs to stay captured. When we’re working inside a home in San Mateo, the exhaust from that equipment matters as much as the inlet. Without proper filtration and containment, the machine can cycle fine dust from the ducts back into the room air, which defeats the entire purpose. Real negative-pressure equipment captures on both ends.
What You Can Genuinely Accomplish Yourself
We’re not going to tell you DIY has no value. It does, and homeowners who do the simple stuff well get more out of a professional cleaning when they eventually schedule one. Here’s what’s genuinely within reach with consumer tools, and the specific items that make it worth doing.
Register and grille cleaning
Supply registers and return grilles are the most visible contacts in the system, and they collect a disproportionate amount of dust because they’re the first and last touchpoint for every bit of air. Removing them (they usually pop off with a couple of screws or clips) and washing them in warm soapy water does real work. A soft brush gets into the louvers. Let them dry completely before reinstalling.
Return grille vacuuming
A vacuum with a crevice tool or a brush attachment run across the face of each return grille once a month keeps surface dust from being drawn back into the system. A microfiber cloth works for lighter dust. This is a five-minute job per grille and it visibly reduces what accumulates down the line.
Dryer vent lint removal
This one matters for safety, not comfort. Lint is highly combustible, and dryer vent cleaning addresses a fire risk that consumer tools can only partially handle. After every load, clear the lint trap. Every few months, remove the vent hose from the back of the dryer and vacuum visible lint from the hose and the wall connection with a crevice tool. A long flexible brush on a drill is a common consumer tool for reaching further into the wall run. If the brush meets resistance or the outside vent flap doesn’t open freely when the dryer runs, stop and call a specialist. Compressed lint deep in the run is a job for proper equipment.
Filter upgrades
The filter is where DIY genuinely pays off, because a better filter is the single most effective consumer-level improvement to indoor air quality. Upgrading to a higher-efficiency pleated filter, and replacing it on schedule, reduces the dust load that reaches the interior of your ducts in the first place. A MERV 8 or MERV 11 filter is a reasonable middle ground for most residential systems. Very high-MERV filters can restrict airflow in older systems, so check that your blower can handle the change before going higher. If you’re considering a filtration or humidity upgrade long-term, systems from brands like Aprilaire or Honeywell are the standard reference points, and a technician can tell you what fits your existing air handler.
What DIY does not cover
Every one of these tasks addresses the surface. None of them reach inside the duct network, and none of them generate the negative pressure required to extract settled debris from a trunk line. The honest summary: DIY is worth doing, and it makes a professional cleaning more effective when you schedule one. It’s not a substitute for one.
Where DIY Attempts Cost You More Later
This is the section most homeowners don’t think about until they’re paying for the recovery. Attempting a whole-system cleaning with consumer equipment doesn’t just fail to clean anything. It can make the eventual professional job larger.
Redistributed debris
When you attach a vacuum to a register with the other registers open, you pull some material loose from the branch you’re working on and it drops back down or drifts into adjacent sections that were previously fine. Now those sections aren’t fine. The professional job that would have been a straightforward single-pass cleaning becomes a longer one, because the technician has to re-capture material that moved around before scheduling. And if the debris settled into an area that also feeds a return, you may have made the air quality in that room temporarily worse.
Damaged flex duct
This is the costly one. Consumer cleaning tools often don’t fit through a standard register boot the way a professional rotary tool does. Homeowners end up cutting access holes in the ductwork, and if the hole is cut in the wrong place, poorly sealed afterward, or cut into flex duct that then separates at a joint, you’ve introduced a leak that distributes unconditioned attic air into the living space. Duct repair becomes part of the job. That’s a step you can usually avoid entirely. Approach any access-point cutting on ductwork as a job for a technician who knows where to cut, how to reseal, and what the duct material can withstand.
Interior contamination spread
A shop vac without HEPA filtration exhausts fine particulate back into the room. If the ducts have anything biological in them, mold spores or rodent residue, that exhaust becomes a way of spreading it. Professional HEPA equipment like the Nikro and Abatement Technologies units we use captures that particulate on exhaust rather than releasing it. Attempting a “quick clean” on a contaminated system without that support is where a small problem gets bigger.
Time cost
Realistically, working a shop vac attachment through every register in a typical San Mateo home takes a full day or more, and the result is a surface-level improvement that needs doing again in a few months. That math rarely works out the way homeowners expect when they start.
When Professional Cleaning Is Non-Negotiable
Some situations don’t leave room for a DIY approach at all, regardless of what the budget looks like. In each of these, the objective shifts from “clean the ducts” to “handle a material safely,” and that’s a different discipline.
Visible mold growth
If you can see mold or a strong musty smell is coming from a register, the duct system needs proper assessment before anyone disturbs it. Consumer cleaning aerosolizes spores. Professional cleaning uses containment and HEPA capture so spores don’t spread. In some cases, cleaning alone doesn’t solve the underlying problem, which is usually moisture, and that conversation is worth having with a specialist who can identify the source.
Post-renovation debris
Drywall dust is uniquely fine and abrasive. After a renovation, drywall dust and construction debris settle in the ductwork, and the amount that gets circulated into living spaces is significant. Professional cleaning after a renovation is the standard recommendation, and consumer equipment can’t move drywall dust effectively because the particles are small enough to pass through a typical shop vac filter. HEPA capture is essential here.
Rodent evidence
Droppings, nesting material, or chewed duct seams indicate an active or past infestation. Rodent droppings carry pathogens, and disturbing them without proper containment is a genuine health risk. This is one of the clearest cases for a professional who can handle contaminated materials, sanitize the system, and take a hard look at duct integrity, since rodents often damage flex duct at the same time they nest in it.
Asbestos-era duct materials
Homes built in certain eras may have duct materials or duct insulation that contain asbestos. If you don’t know what your ductwork is made of, and the home is older, find out before anyone disturbs the interior. Disturbing asbestos-containing material without containment releases fibers into the living space. A professional assessment should happen before any cleaning begins, DIY or otherwise, and this is worth a direct conversation with the technician before booking.
Compromised or leaking ductwork
Disconnected duct sections in an attic or crawlspace are common and invisible from inside the house. Cleaning a system with disconnected ductwork spreads debris into the attic or crawlspace rather than capturing it. A proper inspection catches this first, and the ability to repair what’s found is the reason we offer duct repair as a standalone service. Cleaning without repair leaves the system pulling in attic air the moment the technician leaves.
Getting the Most Out of a Professional Cleaning: The 48-Hour Prep List
If you’ve decided to schedule a cleaning, there’s real value in preparing, and not just for the technician’s convenience. A clean, accessible system means the job goes faster and the camera inspection produces clearer results.
- Clear access to the air handler and every register. Move furniture away from supply and return registers. If a technician needs to reach the air handler in a closet, clear the closet floor. Furniture over a register doesn’t just slow the work down; it can prevent the register from being sealed temporarily, which reduces the negative pressure in the rest of the system.
- Note problem rooms and problem times. If the bedroom on the northwest side is always dustier, or the kitchen return is worse after cooking, write it down. Specific observations help the technician prioritize which branch lines to inspect most closely.
- Check your filter before the visit. If the filter is heavily loaded, replace it the day before so the technician isn’t working around a clogged filter and so the post-cleaning baseline is accurate. Note the size and MERV rating so you can match it later.
- Wipe visible dust from register faces. A quick microfiber pass means the technician can focus on the interior instead of the visible face, and it makes the before-and-after comparison clearer.
- Empty the area around ducted closets and any floor vents. The robot brush and hose run has to move, and a clear path is a more complete cleaning.
- Write down questions. Camera inspection usually reveals things a homeowner can act on: a disconnected section, a damaged flex run, a slight gap at a boot. Have pen and paper ready so you can note what the technician finds and get a written quote for any repair.
One more item: ask for the camera photos. A legitimate professional cleaning includes before-and-after documentation, and that record is what lets you verify what actually happened inside the ductwork rather than relying on a technician’s word.
What a good cleaning visit looks like
When we arrive for a job in a San Mateo home, the visit typically includes a camera inspection, sealing of the unworked registers, negative-pressure setup, systematic cleaning of each branch and trunk, and a final camera pass. Before-and-after photos are part of the job, not an add-on. If a technician finds damaged ductwork mid-job, the repair capability matters: we can quote and often complete the repair during the same visit rather than scheduling a return.
How to Evaluate a Duct Cleaning Company in San Mateo
The duct cleaning industry has a reputation problem, and it’s earned. The pattern is familiar: a low teaser price, then a technician on site recommending far more work once access is established. The defense is to ask specific questions before booking, and to judge the answers by what equipment they name.
- Ask what equipment they use. “A powerful vacuum” is not an answer. Ask for the brand and model, and check whether it’s a Rotary brush system (Rotobrush is the benchmark), a HEPA negative-air unit (Nikro and Abatement Technologies are the contractor-grade names), or a portable shop vac rig. The equipment name tells you which category of company you’re dealing with.
- Ask whether the price is per-system or per-vent. Per-vent pricing is where teaser quotes grow. A flat price per system agreed before work starts is the number you can actually compare.
- Ask whether they handle repair. Cleaning-only companies find damaged ductwork and stop. A duct and vent specialist can quote and complete the repair in the same visit.
- Ask for before-and-after photos. Camera inspection photos of the actual duct interior, before and after, are the hard evidence. If a company won’t provide them, that’s the answer.
- Ask what happens if they find mold or contamination. A cleaning company that stops at dust is not equipped for a contaminated system. Abatement-grade equipment and containment protocols are what distinguish the two.
If you’re considering air duct cleaning in San Mateo and you’re weighing providers, we’re happy to talk through the equipment question with anyone, whether they hire us or not. That’s the question that matters most.
What Professional Cleaning Costs and Why
Whole-system duct cleaning in San Mateo typically runs in the range of $400 to $900 for a standard single-family home with one air handler, depending on the number of registers, how many branch runs need clearing, and whether any repair work is included. Homes with multiple zones, long runs, or additional air handlers generally run higher. That range assumes a professional setup, camera inspection, and before-and-after documentation. A quote significantly below the bottom of that range is usually a teaser price with a technician who’s incentivized to find additional work on site.
The right way to compare quotes is per-system, not per-vent, and with the written estimate in hand before any work starts. That way the number on the invoice matches the number on the estimate. We set the price per system, agree it before work begins, and stand by it through completion.
For the record, we’re a duct and vent specialist, not a general HVAC contractor. We clean ducts, clear dryer vents, and repair ductwork. We don’t service furnaces, install air conditioners, or handle mechanical repairs. If we find something outside our scope during a cleaning, we’ll tell you and point you toward the right trade rather than taking on work we don’t do well. The single-trade focus is the reason every crew we work with is trained on duct cleaning, dryer vent safety, and duct repair, and not split across a dozen unrelated services. Honeywell and Aprilaire familiarity is the one adjacent-knowledge exception: after cleaning, we can make informed recommendations on filtration upgrades, because filtration and duct cleanliness work together.
Common Mistakes to Avoid
- Assuming a shop vac attachment counts as duct cleaning. It doesn’t move enough air to capture settled debris from a trunk line. At best, it loosens dust. At worst, it redistributes it. Either way, it doesn’t achieve source removal.
- Attaching a vacuum to one register with the others open. You’re not creating negative pressure; you’re creating a leaky suction point. The system needs to be sealed for the technique to work, and that’s the missing step in every DIY attempt.
- Cutting access holes in flex duct yourself. The wrong location, or a poorly resealed hole, creates a leak that pulls unconditioned attic air into the living space. Duct repair becomes the next job, and the cost of addressing it typically exceeds what professional cleaning would have cost in the first place.
- Cleaning a system with visible mold without containment. Consumer cleaning aerosolizes spores. Professional cleaning captures them in HEPA filtration. If you can see mold or smell mildew at a register, that’s not a DIY call.
- Skipping the filter. A clogged filter stresses the system and loads the ducts faster. Replacing it on schedule, and matching the MERV rating to what the blower can handle, is the highest-value routine maintenance any homeowner can do.
- Neglecting the dryer vent. It’s a fire-safety item, not a comfort item. The lint trap catches less than you think, and compressed lint in a long vent run is the leading contributor to a dryer fire. A professional cleaning of the vent run every so often is genuinely worth it.
- Hiring on price alone. The teaser price model is a known pattern. Ask what equipment a company uses, ask for per-system pricing, and ask for before-and-after camera photos. The answers separate specialists from generalists.
See the difference
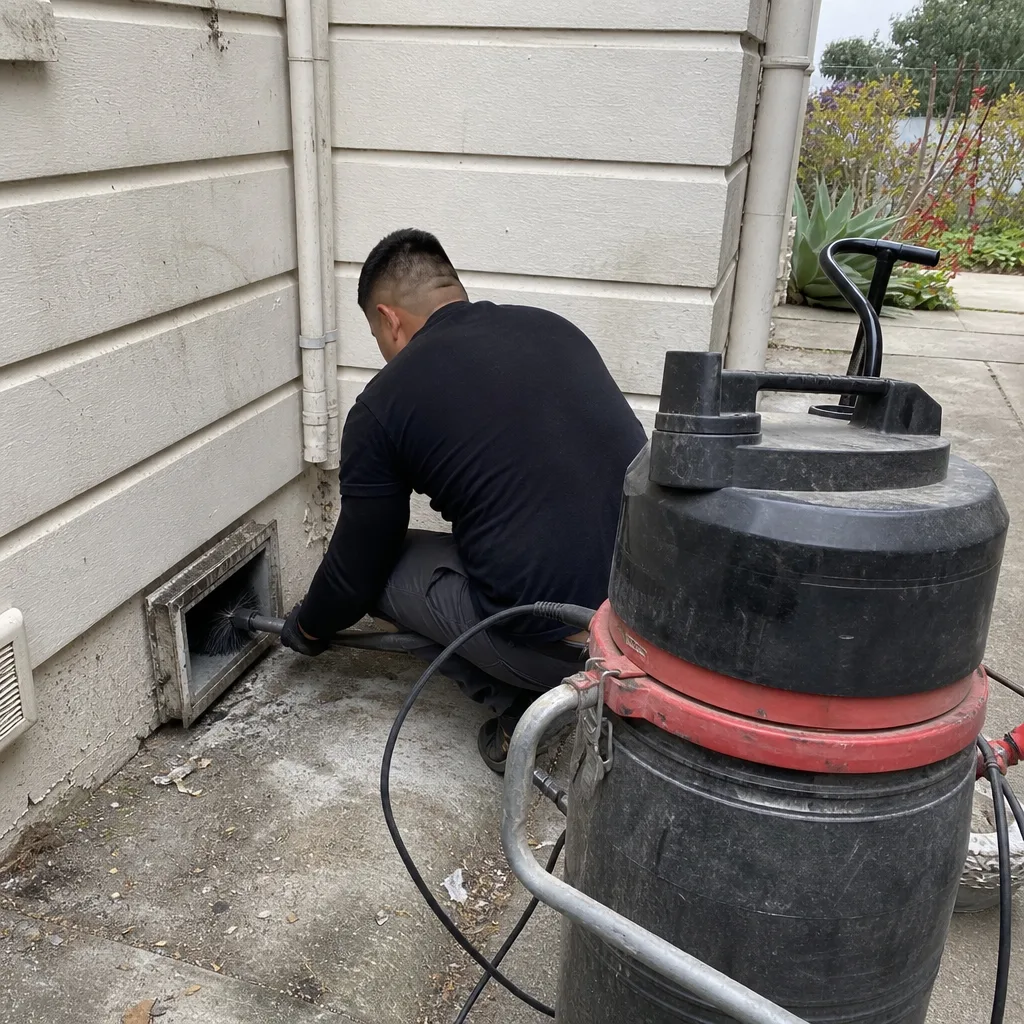 Before
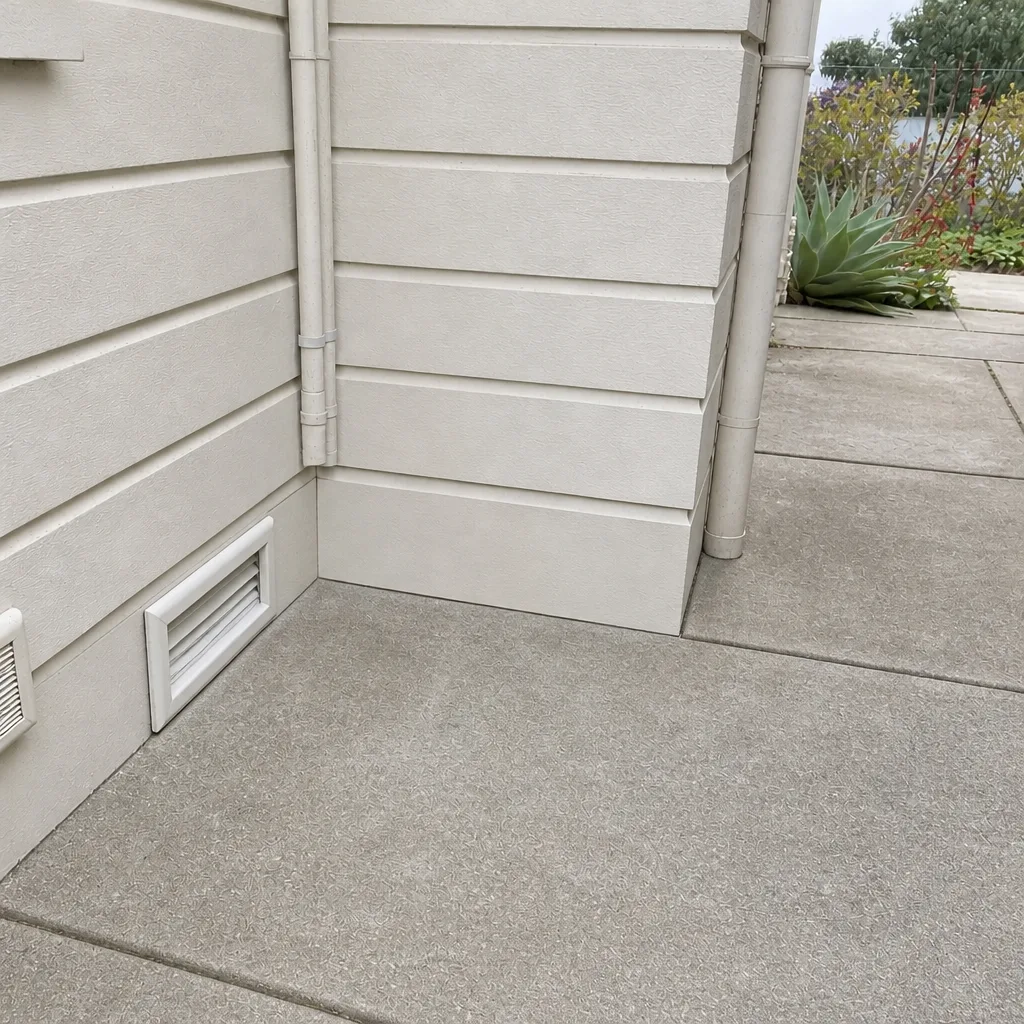 After
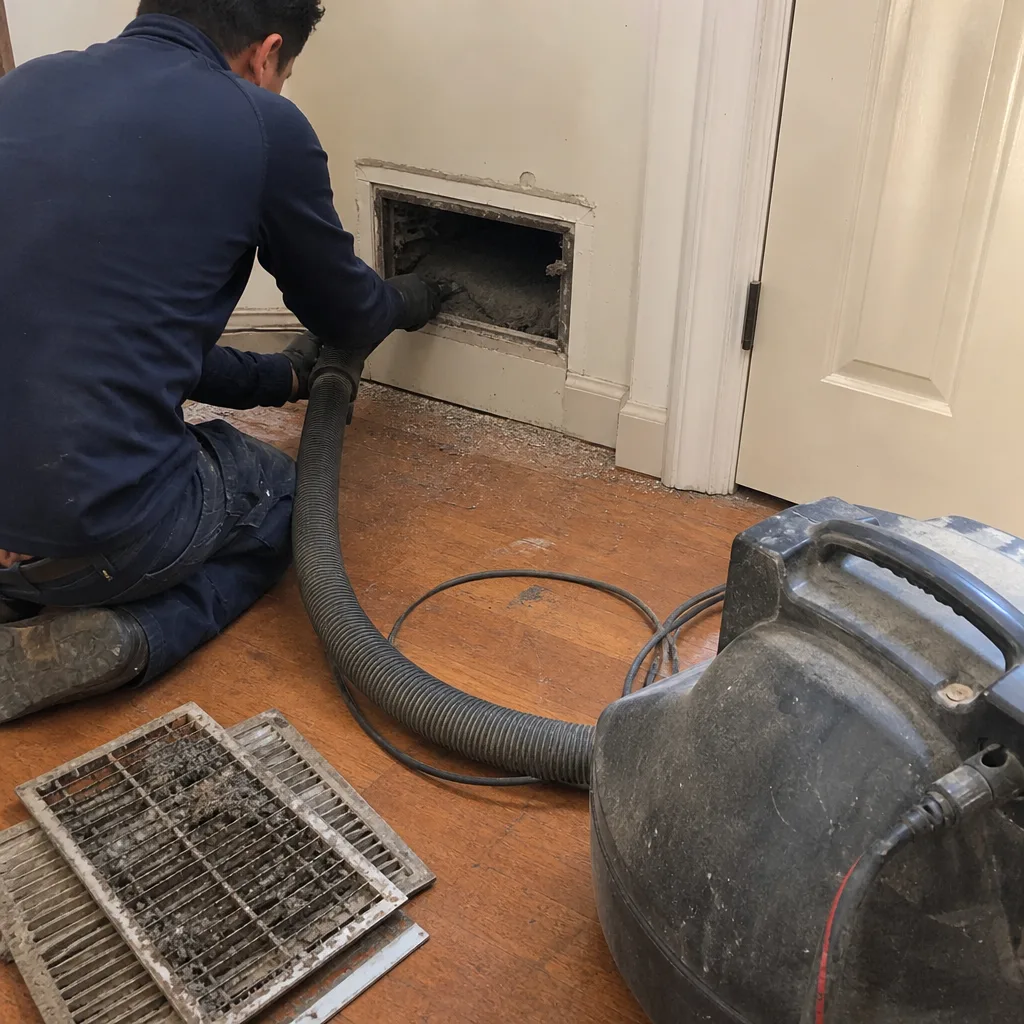 Before
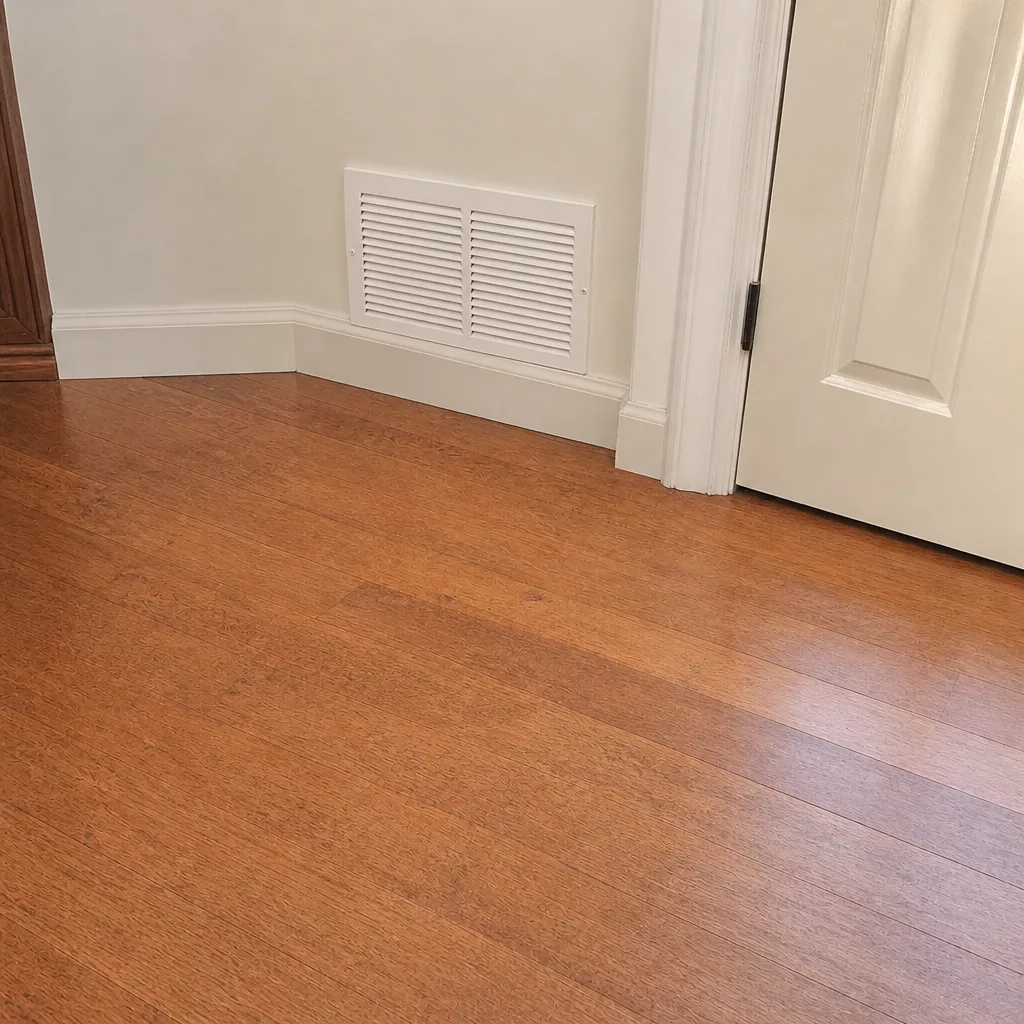 After
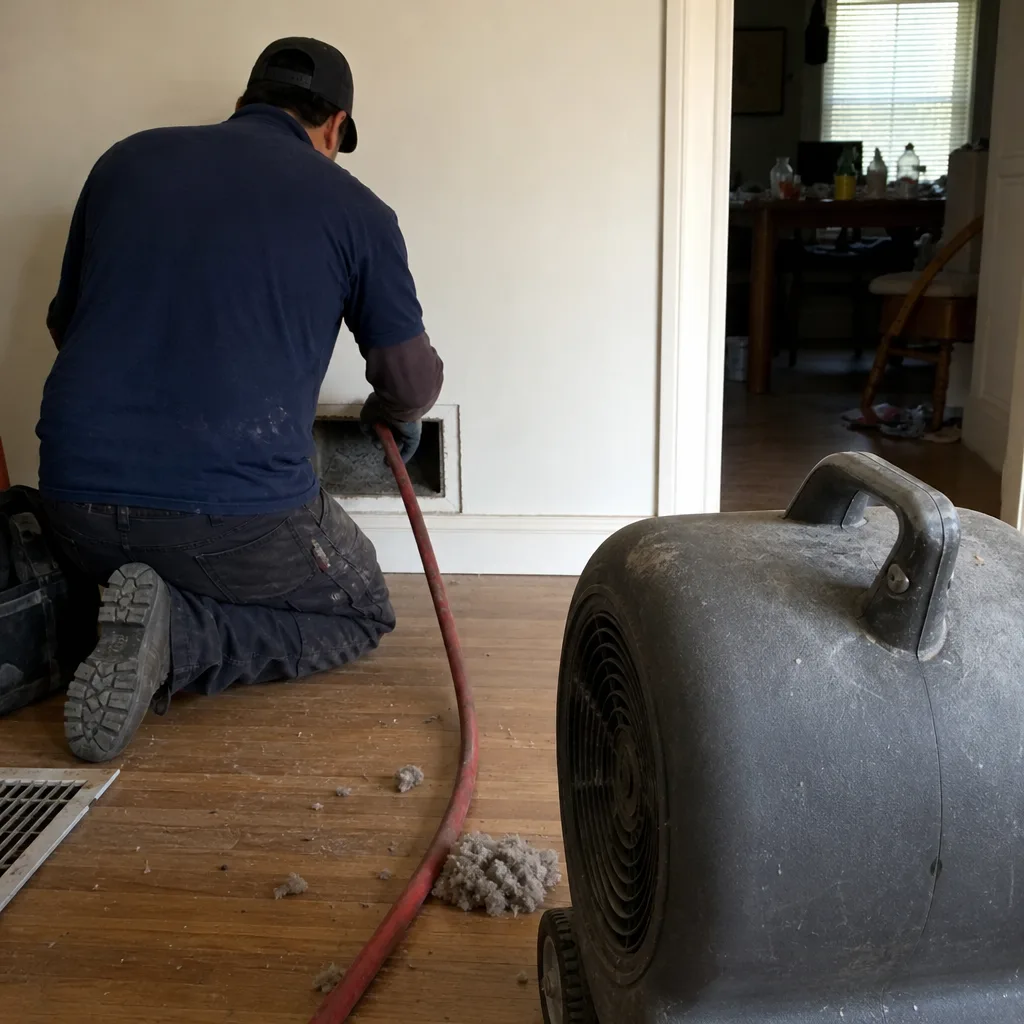 Before
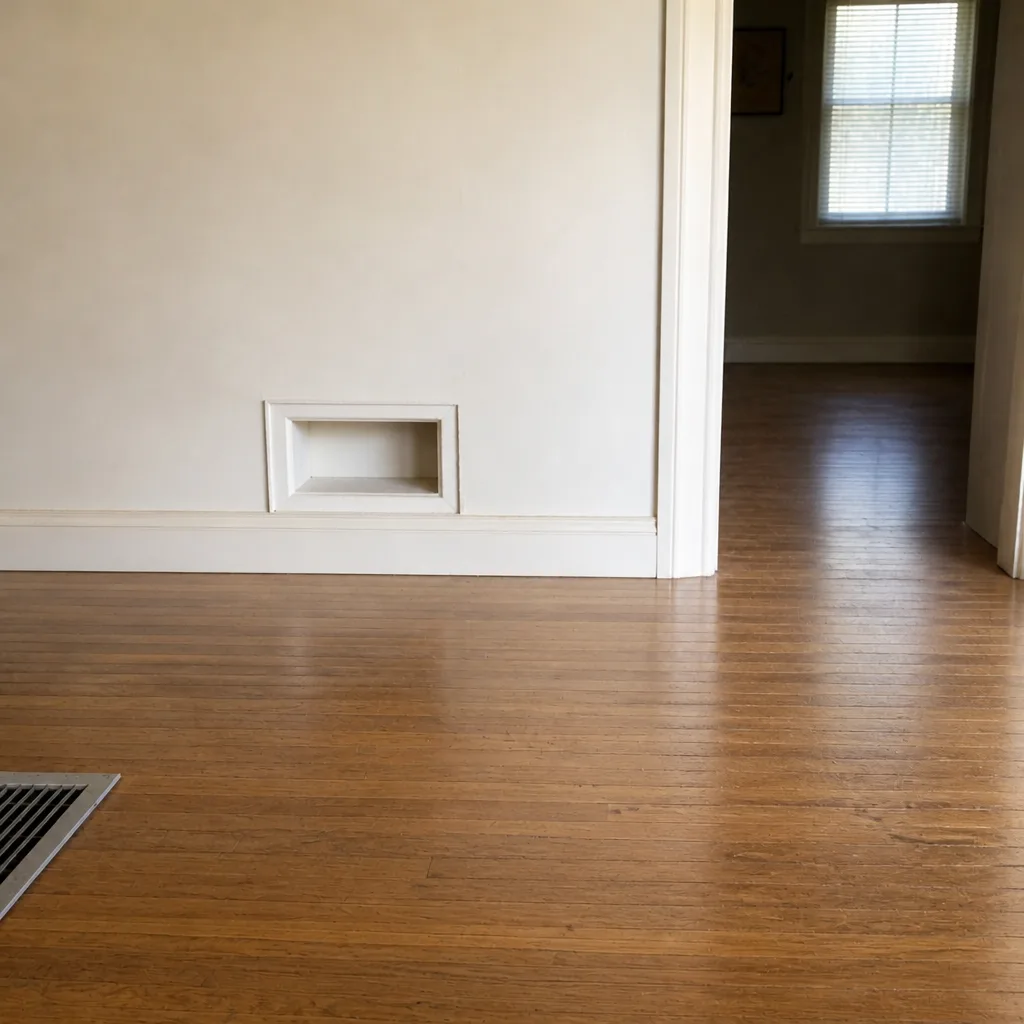 After
When to Call a Professional
There are clear cases where the question isn’t DIY versus professional, it’s “how quickly can a professional get out here.” Call us if you can see mold inside a register or smell a persistent musty odor from the ductwork; if a renovation just wrapped and drywall dust is circulating; if you’ve found rodent droppings, nesting material, or chewed duct seams; if your home is older and you’re unsure what the duct materials contain; if the ducts are visibly damaged, disconnected, or leaking into the attic or crawlspace; or if a dryer vent is clogged and not responding to a routine brush.
In San Mateo we work with homeowners and property managers across the city, from the older homes near downtown and along the El Camino corridor to newer construction and multi-unit buildings. The bay-side climate stays mild year-round, which means ducts here rarely face the temperature extremes of harsher regions, but dust, pollen, and construction debris still accumulate the same way, and the mildness doesn’t protect a dryer vent from lint. We offer free estimates in San Mateo. Call (866) 894-2153. We answer 24/7. Fast dispatch from 7am to 7pm, Sunday through Friday.
Frequently Asked Questions
For a typical single-family home with one air handler, whole-system duct cleaning in San Mateo runs about $400 to $900, depending on the number of registers, the length of the runs, and whether any duct repair is needed. The written estimate sets the final price. Multi-zone homes or homes with additional air handlers run higher. Call (866) 894-2153 for a free estimate on your specific system.
Cheap quotes usually come from generalist crews running low-powered equipment, or from companies using a teaser price that grows once a technician is on site and recommending additional services. The equipment question tells you which scenario you’re in. A contractor using a Nikro or Abatement Technologies system and a Rotobrush rotary tool has real money in the setup and can’t run it for the low-ball number. A company that quotes far below the local range is usually quoting a different kind of job. Ask what equipment they use and whether the price is per-system or per-vent, then call (866) 894-2153 if you want a straight comparison.
Camera inspection is how you know. A professional cleaning of a system in San Mateo should include borescope photos before and after, showing the duct interior at the start and end of the job. That’s the record you can look at. If a company doesn’t offer photos, ask why. The camera is accessible and the documentation is not optional for a specialist.
Most homes don’t need annual cleaning. A reasonable interval is every three to five years for typical use, with a filter replacement schedule in between doing most of the protective work. Homes with pets, recent renovations, allergy sufferers, or a history of pest activity may need it more frequently. If you can’t remember the last cleaning, that’s usually a sign it’s time to check. Call (866) 894-2153 and we can talk through whether a cleaning is actually needed for your home or whether it can wait.
Yes, in two ways. Low-suction consumer vacuums typically redistribute debris into adjacent sections rather than extracting it, which extends the eventual professional job. And non-HEPA shop vacs exhaust fine particulate back into living space. If the system has mold or rodent residue, that exhaust spreads it. Either outcome is worse than leaving the ducts alone until a professional can clean them. If you’re concerned about a compromised system, call (866) 894-2153 before attempting anything.
They’re separate services, and both matter. Duct cleaning addresses the HVAC air-distribution system; dryer vent cleaning addresses the exhaust run from your dryer to the exterior vent. The dryer vent is the more urgent of the two from a safety standpoint because lint accumulation is a real fire risk. We offer both as standalone services, and homeowners often schedule them together since the visit and equipment are similar. Call (866) 894-2153 to schedule either one.
The Bottom Line
The DIY versus professional question comes down to physics, not effort. Consumer equipment cannot achieve the negative pressure required for source removal, so DIY cleaning on a whole system moves dust around inside the ducts and sometimes into the living space. What a homeowner can genuinely accomplish is real and worth doing: register cleaning, grille vacuuming, filter replacement, and keeping the dryer vent clear. What a homeowner cannot replicate is the simultaneous vacuum-and-agitate setup that a Rotobrush and a Nikro or Abatement Technologies unit make possible. If your ducts have mold, rodent evidence, renovation debris, or damage, professional cleaning is the only safe route. If you’re in San Mateo and want to know where your system falls, we’re happy to walk through it with you.
Your Next Step
Whether you’re ready to schedule or just want a straight answer about whether your ducts actually need cleaning, we’re glad to help. We’re a duct and vent specialist for San Mateo and the surrounding area, and our technicians have up to 10 years of experience with the equipment that matters. Free estimates, per-system pricing agreed before work starts, and before-and-after camera photos are standard on every visit. Call (866) 894-2153. We answer 24/7. Fast dispatch from 7am to 7pm, Sunday through Friday. If you want to get a head start on the process, take a look at our air duct cleaning page, or check out what we do for dryer vent cleaning and duct repair. Either way, we’d rather answer a few questions upfront and let you make a clear decision than have you wonder if the work was done.
Written by the team at Duct Cleaning San Mateo.